Interactive Tutorial
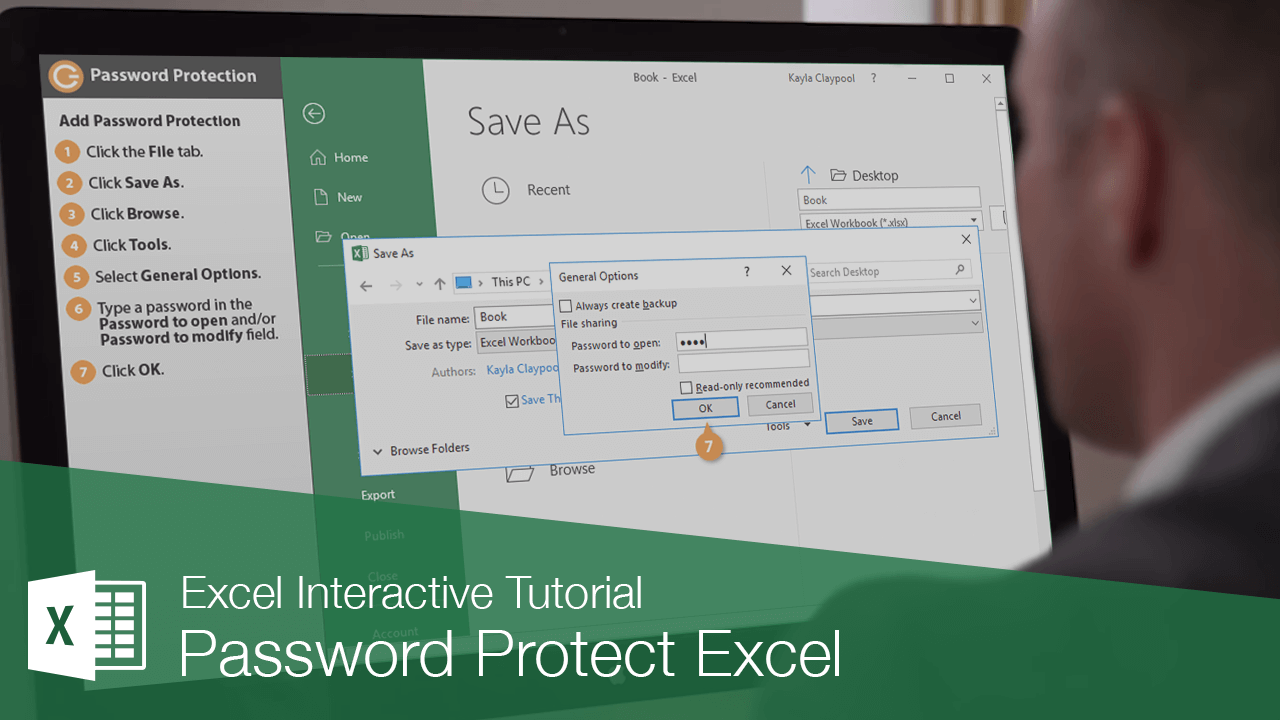
How to Password Protect an Excel File
Learn How to Password Protect an Excel File to Secure Sensitive Data and Prevent Unauthorized Access
-
Learn by Doing
-
LMS Ready
-
Earn Certificates

Try this Course with a Free Trial
When a password is added to a workbook, only authorized users with the password can view or modify it.
Add Password Protection
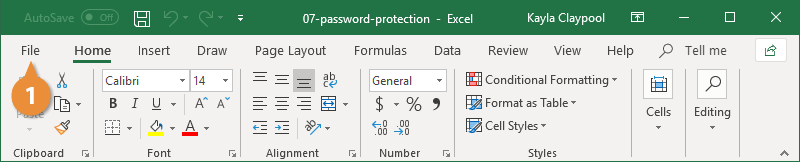
- Click the File tab.
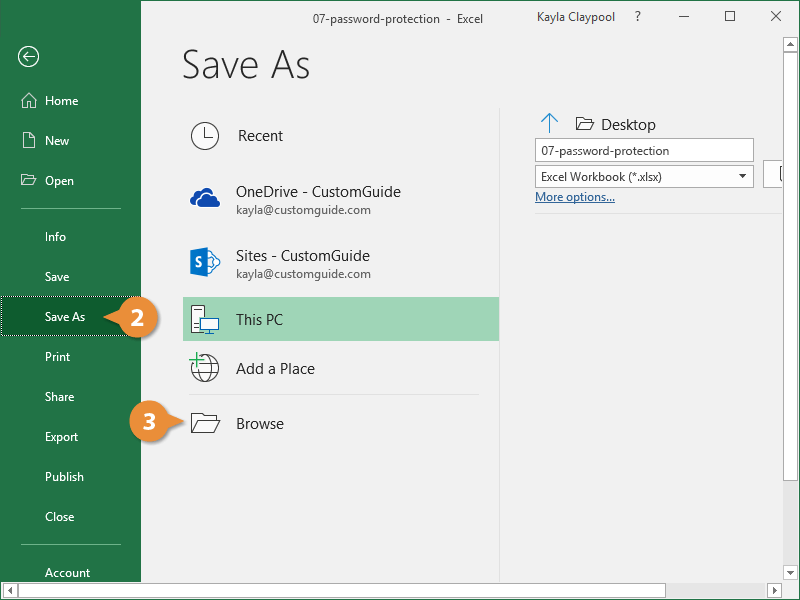
- Click Save As.
- Click Browse.
- Click Tools.
- Select General Options.
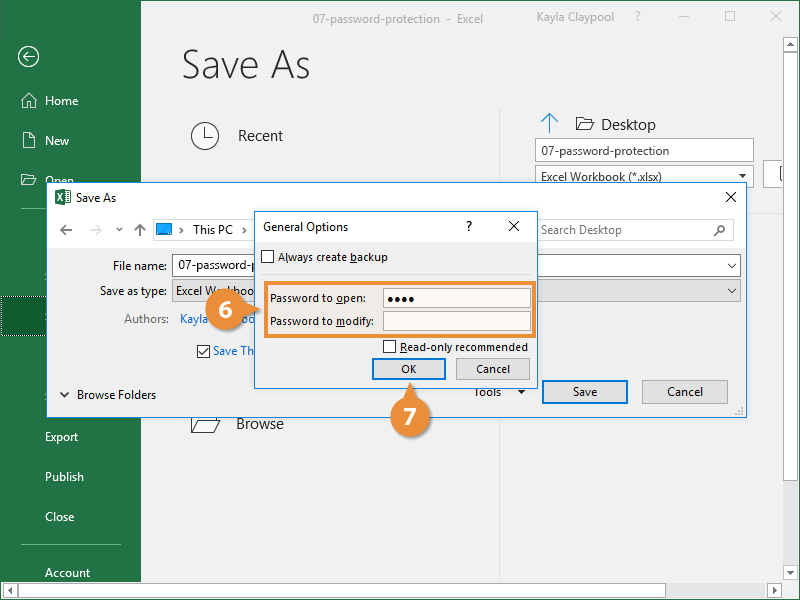
Enter passwords in the password text boxes as desired.
- Password to open: Enter a password here to require users to enter a password to view the workbook. This password is encrypted, making it more secure.
- Password to modify: Enter a password here to require users to enter a password to save changes to the workbook. This password is not encrypted.
You can enter just one or both passwords, depending on the type of protection you want for the workbook. Passwords are case-sensitive.
Check the Always create backup box to save a copy without a password incase the password is forgotten.

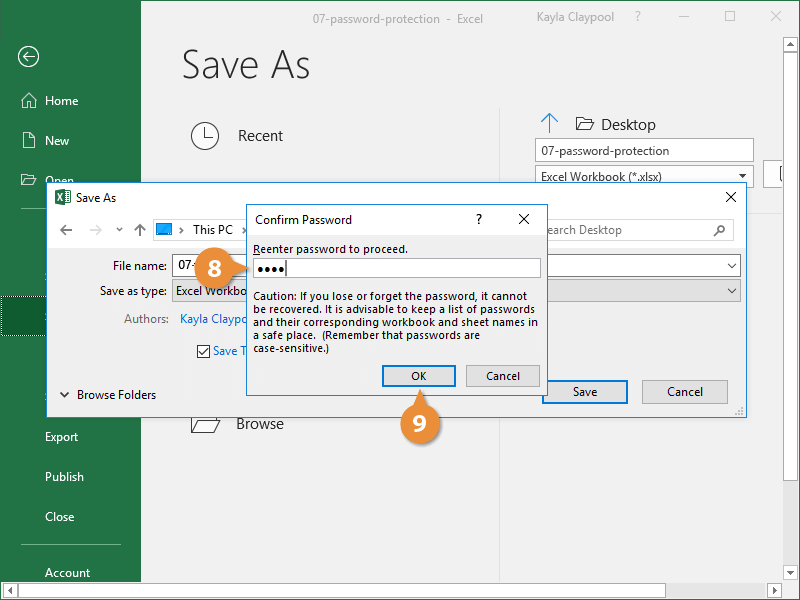
- Click OK.
- Reenter the password.
Type a secure password that can't easily be guessed by other users, and be sure to write down your password in a safe location.
- Click OK.
The workbook is now password protected. To change or remove a password, repeat the workbook protection steps and simply change or delete the password in the General Options dialog box.