
Interactive Tutorial
Manage Rules in Outlook
Edit, delete, and prioritize email rules in Outlook for better inbox control
-
Learn by Doing
-
LMS Ready
-
Earn Certificates

Try this Course with a Free Trial
If you have several rules set up, you can edit or remove them when your needs change.
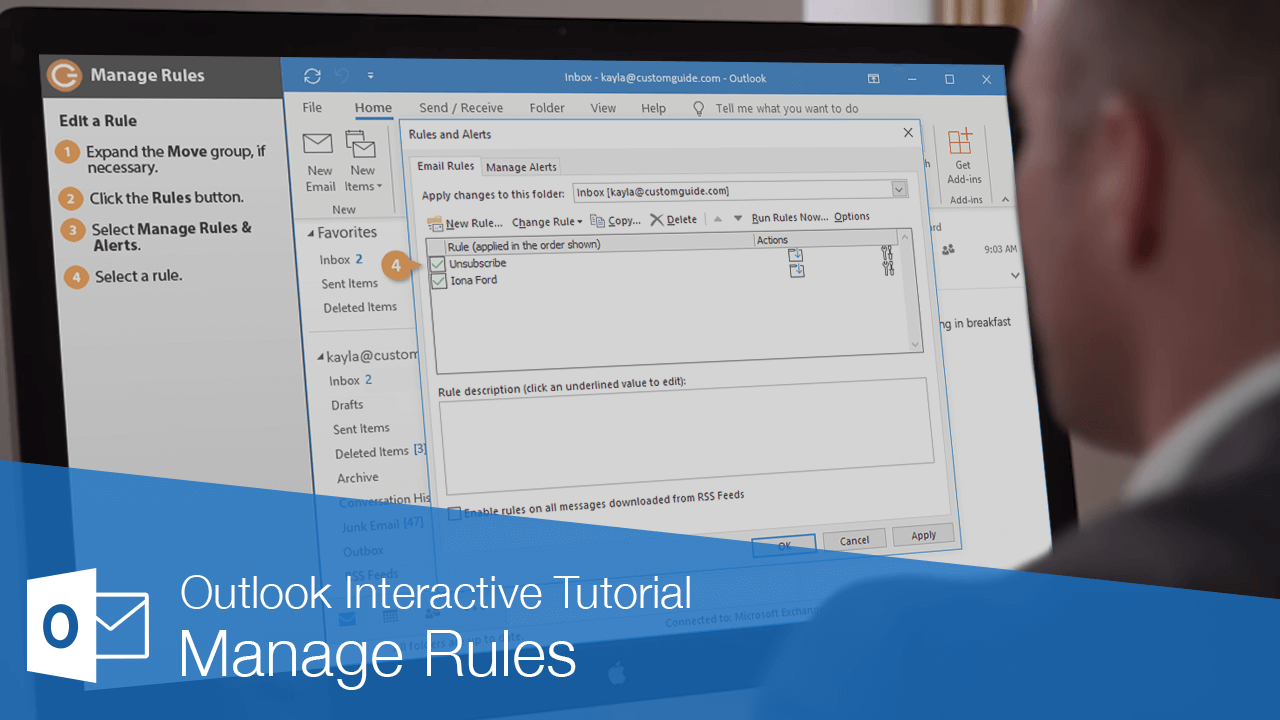
Edit a Rule
Once you have rules created, it's easy to fine-tune them by editing one or more of their conditions, actions, or exceptions.
- Expand the Move group, if necessary.
- Click the Rules button.
- Select Manage Rules & Alerts.

Each rule you've created appears.
Unchecking a rule’s check box will disable that rule and prevent it from running.
- Select a rule.
- Click Change Rule.
- Select Edit Rule Settings.
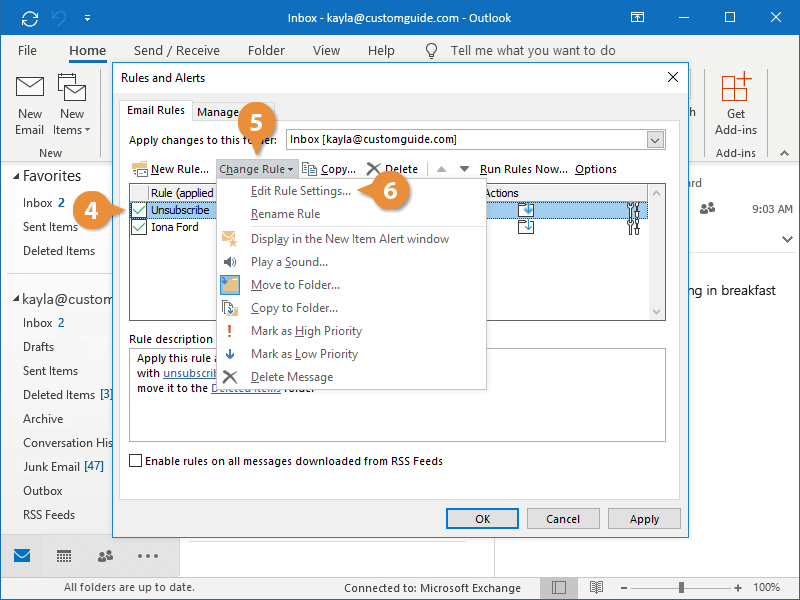
The Rules Wizard appears. From here, you can add and remove conditions and actions, change the settings on conditions and actions, or change the rule’s description.
- Edit the rule as necessary.
- Click Finish.
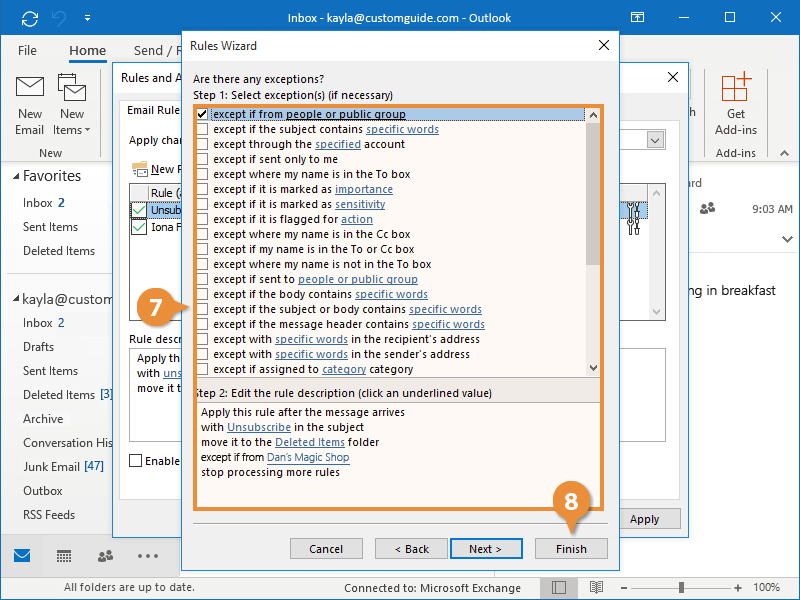
The Rule Wizard closes and the changes to the rule are saved.
Delete a Rule
When a rule becomes unnecessary, you can easily delete it.
- Expand the Move group, if necessary.
- Click the Rules button.
- Select Manage Rules and Alerts.

- Select a rule.
- Click the Delete button.
Outlook asks if you’re sure you want to delete the rule.
- Click Yes.
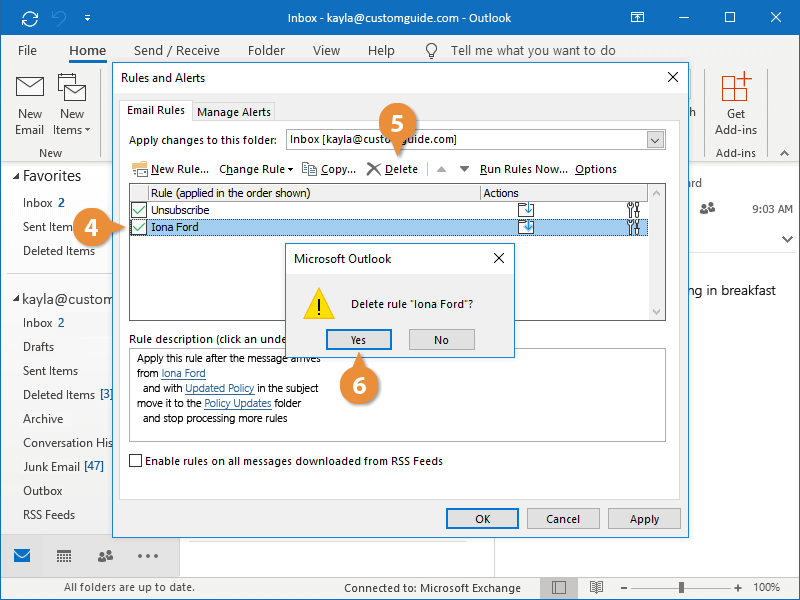
The rule is deleted.